As time goes on, we are quickly seeing an ever-changing job market. Many employers are looking for new designers with additive manufacturing skills in their bag of tricks. Along with new technology comes new opportunities, and in our realm of 3d design that means instant gratification, well pretty close anyways.
These days, you can set your file up on a 3d printer, leave the office for a long lunch, and have your part waiting for you when you get back. It wasn’t that long ago when a designer would have to iterate their designs many times over before pulling the digital trigger and have a prototype 3D printed, machined or otherwise manufactured. Due to the high cost of getting a prototype made, it was essential to get various design details right the first time.
Today, there are 3d printers in nearly every design office (or companies that will print a model for you), and with a quick prep and paint, you can have a realistic hardware prototype in a few days. In the consumer product design market, this is an amazing asset, but it can also quickly become a problem.
The drawback is that this new generation of designers can become complacent and start sinking before they can print a 3d boat to float in. With every tool in the toolbox there is a right way to use it and 1000 wrong ways. I want to take a moment to talk over some key components of the design process…with 3d printing in mind…to make sure you aren’t trying to hammer a screw into a square hole.

1: Know your Media
Things change by the day, or so it seems. Make sure you are up to date on what’s available. This is critical to the design process as your material choice will dictate things like your wall thickness, structural ribs, thread-cutting screws vs. inserts etc. A part designed for ULTEM will be different than an SLA part or SLS nylon etc.

2: Learn the Magic
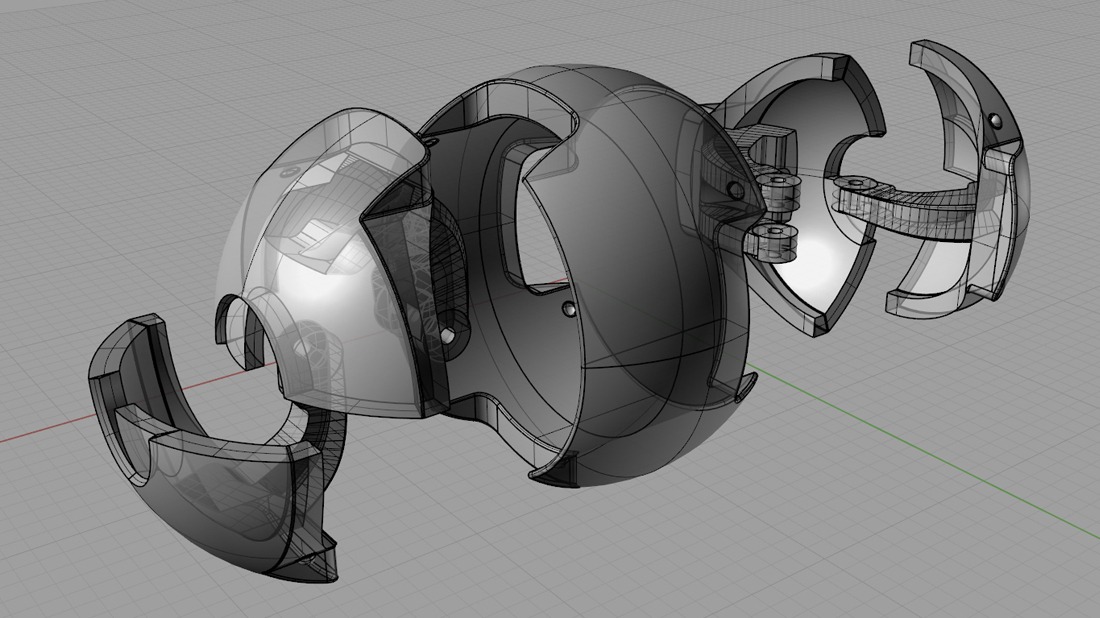
It is just as important to know the process itself as it is the material to use. Know how an FDM part is built so…if needed, you can specify a build direction for strength. Learn how an SLS part is built so you know if you have an empty cavity, really, it will be filled with powder. With dozens of materials out there, you have to know how it will look not only cosmetically, but also how it will perform. You may be able to 3d print rubber-like materials, translucent parts and a whole host of things you may not even know about with just a little extra research.

3: Consider All Options
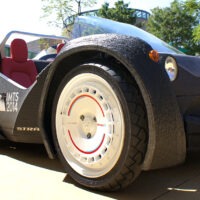
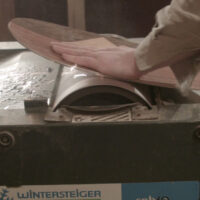
By this I mean don’t always assume that a 3d print is the way to go. While you can 3d print some very complex shapes, there are drawbacks worth noting as well. Many companies can rapid-CNC plastic parts you may not even know are impossible. If you need to prototype snap-latches, living hinges or really just need a closer representation to an injection molded part, consider all of your rapid-prototyping options outside of 3D printing ahead of time.
There are rapid fab shops for formed sheet metal, machine/turn parts, fiberglass, etc. You can even order short-run injection molded parts starting at $1,500! Additionally, you can also get high-resolution 3d printed SLA parts to produce silicone molds for low production urethane parts. Knowing your options before you design might send you down a very different path.

There is nothing worse than spending a metric ton of time designing a part to be printed just to find out it actually needs to be machined or molded. If you design a machined or molded part you can print it, but often times the freedom of 3d printing allows you to make parts that can’t be produced by any other method. This means you have to start over or endure the headache of trying to massage the feature tree to get things to work. Neither option is very fun.

4: Open Up That Toolbox Wide
Computer-Aided Design software like SolidWorks, Rhino, Autodesk Fusion 360 and others have so many tools…don’t be afraid to use them! Check your models; check their intersections, wall thicknesses, do some simulation, renders etc. While you can print parts fast you can find problems faster.
There is a lot of pressure now for quick results, but it’s embarrassing to rush a design to be printed only to have it not fit together, or have that snap latch break the first time you try to use it. Just because things can become physical very quickly, doesn’t mean you shouldn’t take the time to model them properly.
5: Start With the End First
Determine if the end goal is a functional 3d printed part, or if it is only a concept. The technology allows us to 3d print some amazing things, not just cosmetically, but mechanically. There are parts that can only be created through additive manufacturing. If you know from the start that the end goal is a 3d printed functional part then go crazy! You don’t have to worry about draft angles, getting a tool into a spot, or how a part has to be produced. You are free to make a completely free design. And now you have a clear picture of all your options so you can justify your methods, regardless of how easily accessible they are.
Ultimately, don’t be the guy that draws something quickly just to print it. Make sure you see the whole picture of the design process and know everything you can about current technology so you can make that informed design decision.
A little information can go a long way!
Resources for Prototypes and Low-Volume Production