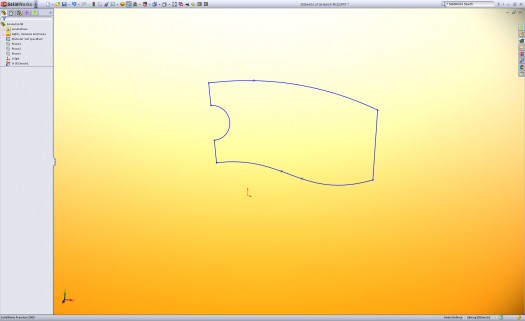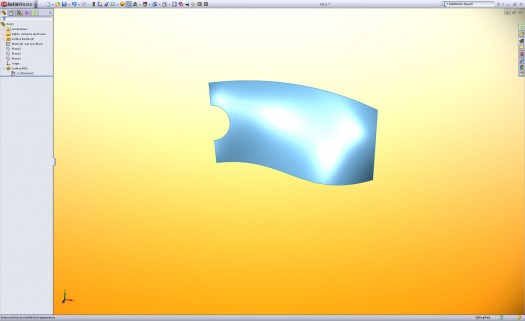
All you need is an open part file and about two-minutes… depending on how mad your 3D modeling skills are and how quick your fingers can click the mouse button. It’s a single sketch that creates a single feature and it’s glorious. Here we go.
After you have a blank part file open…
- Insert, 3D Sketch – The simple part. 3D sketches are amazingly flexible for creating geometry.
- Spline and sketch – Create a closed contour. This can be the shape of a vase, shoe, engine shroud, aircraft wing or whatever crazy design you are creating.

- Insert, Surface, Fill – The magic. This will take any closed contour and allow you to “Fill” it with a surface.

More on The Fill Surface Command
This would typically be used to fill in the area between other surfaces you create. It works great for that, but if you’re starting out a design and getting frustrated with getting a nice fluid shape, give this a try.
It does pretty good at creating the uniform shape to follow your sketch. It will also allow you to add constraint curves, but that means more sketches. Still, it can be easier than trying to get sweeps to follow a set of constraints.

Have a tutorial idea? Submit it here! For more SolidWorks tutorial and 3D goodness subscribe to SolidSmack!


![6 Types of Civil Engineering Drawings [Detailed Guide]](https://www.solidsmack.com/wp-content/uploads/2023/12/Civil-Engineering-Drawings-270x180.jpeg)

