
Halloween is still months away, but the boring online video calls are definitely not going anywhere anytime soon. So why not spice things up with a mask that projects all sorts of digital images?
A couple of years ago, Sean Hodgins thought of a cool idea for a mask. By installing a projector connected to a teeny-tiny Raspberry Pi Zero computer and affixing it in front of a 3D printed mask, he was able to project all kinds of image files onto his face.
So how exactly did he go about making this creepy, yet totally awesome identity-hiding device? Sean gives us a close look at all the components of his mask:
Inside the Projector Housing

This tiny box that sits in front of the mask is where all the magic happens. In here, you’ll find the Raspberry Pi Zero connected to an adaptive circuit board, which is then connected to a little pico projector. Beside this bevy of electronics and circuitry is a small cooling fan, just in case things get too hot.
Sean has created the custom circuit board using some headers and circuitry since the pico projector is designed for a Beaglebone microcontroller pinout, which the Raspberry Pi Zero does not conform to. With these modifications, the Pi Zero commands convert properly to the projector. He also has added some extra commands such as the control for the cooling fan.
All of this is powered using a 10,000 mAh battery pack which connects to the computer via USB to a 5.5 mm by 2.1 mm jack adapter. Lastly, the sides of the housing are custom-made 3D printed parts that are assembled together.
What Makes a Mask?

The mask itself is a 3D printed Thingiverse file to which Sean added some mounting holes on the temples and chin. The temple holes are made so he can attach a head strap he took from a welding helmet. The chin holes allow Sean to attach the mask to a metal rod, which connects it to the projector housing and keeps it steady.
Making the Projections

Now for the best part: making the images that project onto the mask.
Since the projector is much lower than the surface it’s projected on, Sean has to modify the image files on a Photoshop template he made specifically for the mask. You can see the chin area is wider while the top area is narrower to compensate for the projector’s low angle.
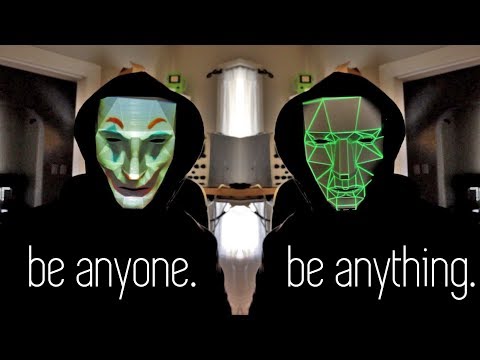
Sean mentions that this is much harder to do for images that project a face, such as a Guy Fawkes mask or an actual person. He initially planned to add a camera somewhere in the front so you could “steal” the face of someone in front of you and project their image onto the mask, but decided this would be an endeavor for another time.
Controlling the Projections

Once you have your images and videos in place, it’s time to project them onto your mask.
Sean uses a mobile app called RaspController which he connects to his phone and the projector. With both devices connected, he can use his phone to create custom commands, such as playing certain images and video files.

There is still a lot of work that could be done to improve this projection mask, such as adding that aforementioned face stealing feature. Maybe Sean can even integrate that voice modulator he uses in the video into the projector itself!
You can find all the files he has used to make the mask in the video description. To see more of Sean’s other creative projects, check out his YouTube channel.


