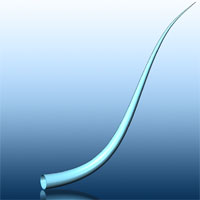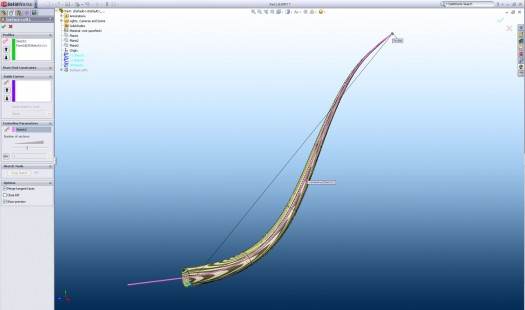
Whatever it is, if it needs to come to a sharp point, you’re in luck. SolidWorks can do that and it’s really, super easy. A profile, a path, a point. Three steps and you have a loft that traverses to the finite limits of your sanity and imagination. Sounds cool huh. Here’s the process.
- Create your Profile
This can be a closed or open profile. - Create your Centerline Path
Using the spline tool, create a path you want the profile to follow. - Add the Point
Create a 3D Sketch and add a sketch point to the end of the centerline path - Create the Loft
Select the Loft command on your Surface Toolbar and pick the profile and the point sketch to add them to the Profiles section. Go down to Centerline Parameters and select the path you created.
OK, so it’s actually four steps after you get to the Lofting part, but so what. Generally, you’ll create a profile first. You may in some cases want to start your centerline path first so you can create a plane on the endpoint of the path. Here’s the file if you would like to play with it.

How do You Use Lofts?
Most people are familiar with using the good ol’ Loft feature to go from one profile to the other using solids. They work pretty well for surfaces, especially when using a centerline path like the example above. However, if you want to get better results for your surface and have a few more options, start exploring the Fill Feature and the Boundary Surface Feature.
There is obviously, more applications for lofting to a point. We’ll explore one next week. How do you use them?


![6 Types of Civil Engineering Drawings [Detailed Guide]](https://www.solidsmack.com/wp-content/uploads/2023/12/Civil-Engineering-Drawings-270x180.jpeg)

