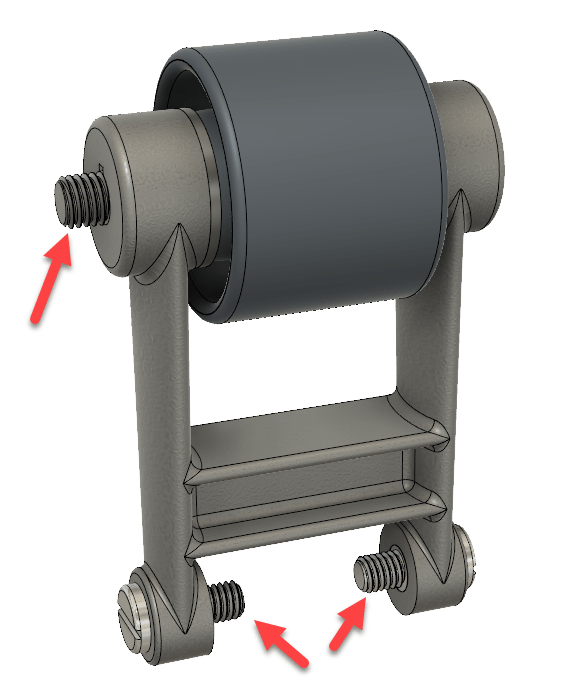
If you ever wanted to create threaded fasteners for screws, nuts, bolts and the like on the fly using good old Fusion 360, Autodesk has a simple method to easily implement them using the Thread command:

Under the ‘Create’ menu, choose the ‘Thread’ command and select a cylindrical shape you want the thread to be applied on to.


You can then set the specifications of the thread, such as the size, type, class, and direction the thread is rotating towards. If you aren’t sure what specs to give your thread, Fusion 360 automatically finds the standard closest to your particular selection. You can also refer to McMaster-Carr or another part manufacturer to look at their specifications.

Once your threads are set, they will show up on Fusion 360 as decals rather than fully-fledged 3D models. This is simply to create a reference point and won’t add any of the extra edges and curves the new designs create.

Should you want all your threads to be converted to 3D models, you can simply click on ‘Threads” and switch the ‘Cosmetic’ option to ‘Modeled’.
All semi-translucent threads will now become opaque in Fusion 360 and will be fully modelled, allowing you to mess around as well as accidentally click on them while trying to model something else.


Be sure to check out Autodesk’s Fusion 360 YouTube channel if you’re looking for more quick tips to speed up your workflow.
Have a tubular CAD tech tip you’d like to share? Send it on in to tips@solidsmack.com!


![6 Types of Civil Engineering Drawings [Detailed Guide]](https://www.solidsmack.com/wp-content/uploads/2023/12/Civil-Engineering-Drawings-270x180.jpeg)

