
Many of you may already know how a DLP 3D printer works–by shining focused light on a mixture of resin, the machine builds a series of solid layers which make up the finished product. That’s how it works for the most part, but there’s a lot more going on than meets the eye. Let’s have a look.
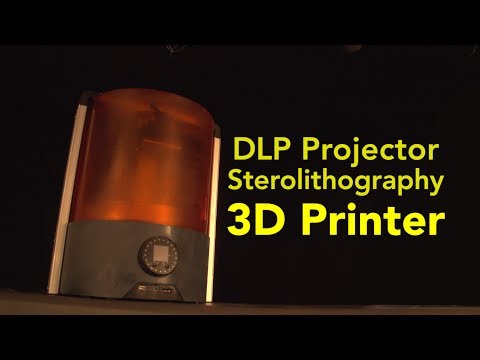
Using an Ember Precision Desktop 3D Printer, YouTube creator Bill Hammack prints a miniature swan while going through the ins and outs of its creation.
As the build head dips into an amber container filled with resin, a green light indicates the solidifying of a single layer which comprises the swan. The light in question is actually blue; it only appears green because it is photographed through the amber container. The container protects the model from room light which could accidentally solidify it.

Looking inside the printer, you can see the LED projecting light through a micromirror chip. It may look like a flat piece of glass, but there are about a million tiny mirrors located inside the micromirror chip which direct light either to or away from the printed surface, adjusting themselves based on the printed model’s specifications. This ensures the object you are printing has the highest resolution possible.

Each layer has a specific makeup of light patterns which solidify the resin at each level. Some parts which are elevated, such as the wings, require support posts that keep them in place while the model is being printed. These are snapped off later on by the machine so as not to leave the figure with resin scaffolding.
Unlike top down printers, a bottom up printer prints it models upside down from the base up. It may look weird seeing your design at a topsy-turvy angle, but this drastically reduces the amount of resin used and doesn’t require a large printer to create bigger designs.

As to why the printing tray constantly whirs from left to right, this is so new layers can be added on top of the model without the resin solidifying. The amber tray contains a silicone window which allows blue light to pass through. An oxygen inhibition layer located above the window separates each layer but has to be removed in order for a new layer to be added without it sticking to the window. To do this, the printer slides to the side to prevent the entire structure from getting damaged.
It may sound quite technical (and it is), but this helps ensure the models printed are complete and don’t resemble disconnected blobs of goop.

To end the video, Bill looks at the chemistry behind the 3D printing process. Uncured resin, which contains monomers, oligomers, and photoinitiators, is subjected to blue light from the 3D printer. This light then solidifies the resin by binding the monomers and oligomers together with the photoinitiators to create a sturdy model.

Note that without all the three components contained in the resin, the finished product is flimsly, can easily break, and has an overall low resolution.
Bill has more videos in which he takes apart and explains the workings of other everyday machines. You can find them over on his YouTube channel, engineerguy.


